INTERCULTURAL DESIGN- FINAL PROJECT

4/2/19- 22/2/19 (Week 5- Week 7)
Andrea Vie Choong Jia Qi (0331945)
Intercultural Design
Final Project
Memories of A Headhunter In A Wooden Box
Memories of A Headhunter In A Wooden Box
_______________________________________________________________
INSTRUCTIONS
Module Information Booklet (MIB)
_______________________________________________________________
FINAL PROJECT- Memories of A Headhunter (Wooden Box)
4/2/19 (Week 5)
From the feedback we got from the previous data collection presentation, we need to think of more innovation and creativity for our final visual representation of our research.
We did some sketching over the holidays with more developing or new ideas relating to our original idea, printmaking the Iban Tattoo.
Here are the sketches.


Fig 3.1 Sketching ideas #1
11/2/19 (Week 6)
Feedback from consultation with Mr. Charles and Ms. Jinchi
From our meeting with Mr. Charles and Ms. Jinchi, they gave us some questions to consider when making our final execution idea.
From our meeting with Mr. Charles and Ms. Jinchi, they gave us some questions to consider when making our final execution idea.
Questions to consider:
1. Why do we want to show this to our audience (students)?
2. How does it give impact us?
3. How far do we cross the boundaries (exploration ideas)?
4. How to make use of the space in the exhibition hall?
5. Making use of light? For e.g. museums use lighting in their ancient things.
5. Making use of light? For e.g. museums use lighting in their ancient things.
We need to focus on the purpose and some keywords in helping us think of the final outcome for the exhibition. And also the interpretation of "Living with Nature" from our final idea.
Keywords: mystery, humanity, respect, culture, function, purpose
They even gave us their suggestion on how we could share with people about the culture of Iban Tattoos.
1. Painting the tattoo on the person's body (he/she will be lying on a mat)
- Some kind of performance
- Replicating vibe
2. Peeling the tattoo and read the written meaning behind
- Interactions with audience
3. Hallway designed like a forest
-Where people can go through, with some sense of mystic
*Additions: we can also add colours to our tattoo designs/ add some incense & Sarawak sapeh music playing in the background.
---------------------------------------------------------------------------------------------------------------
From the feedback, we thought of another idea that would show mystic vibes. We decided to do an installation where people can interact with the tattoo design and read the meanings behind them.
We wrote down in detail of our installation idea and got some pictures as our inspiration.
We decided to do a mini installation where people can interact with the boxes. Earlier on, we had an idea to do an installation with the Iban Tattoo but we changed it to a smaller scale.
We planned to laser cut the tattoo designs on wood and add written meaning behind them. People are able to pull out the wood piece from the box slot like a file and read the meanings.
By doing this, we wanted to show the memories of a headhunter by using the box as the head of the headhunter and the wooden slots as his memories.
Here are some sketches of our idea:

Fig 3.2 Sketching our execution idea
After finalizing our idea with Ms. Jinchi, each of us chose two tattoos to do on and illustrate the stories behind those tattoo meanings.
I chose to do on the "Pua Kambu" and "Uker Degok" tattoo. I sketch out the stories first before doing it digitally. We decided to laser print the tattoos and the story illustration on a wood piece. So we had to draw in silhouettes.


Fig 3.3 Sketches for tattoo meaning story
After sketching, we drew them digitally in Illustrator because we are going to laser cut them.

Fig Story Illustrations
We also drew out the box with the measurements to know exactly how it will be presented and look like.

Fig 3.4 Drawing the box layout with measurements
We listed down the materials and equipment we needed for our box making.
Materials:
- Wood piece (four for the box, six for the tattoo tab & story illustration)
- Wood glue
- Ruler & pencil (measuring)
- Acrylic paint (to paint the tattoos & pattern)
- Shellac (for the varnish/polish finish)

Fig 3.5 Materials/ Equipment
MAKING PROCESS
18/2/19 (Week 7)
For this week, we went to the carpentry workshop to measure and cut out the wood pieces to the measurements.

Fig 3.6 Measuring & Cutting the Wood
19/2/19 (Week 7)
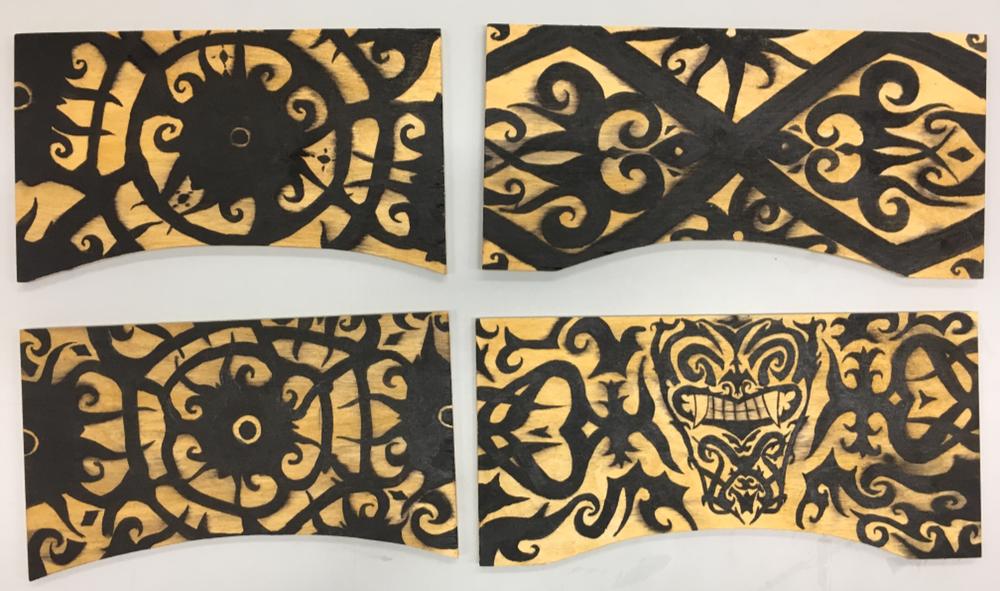
We started to draw the tattoo on the tab and paint them using black acrylic paint. We traced the tattoos digitally so it will be easier to draw out.
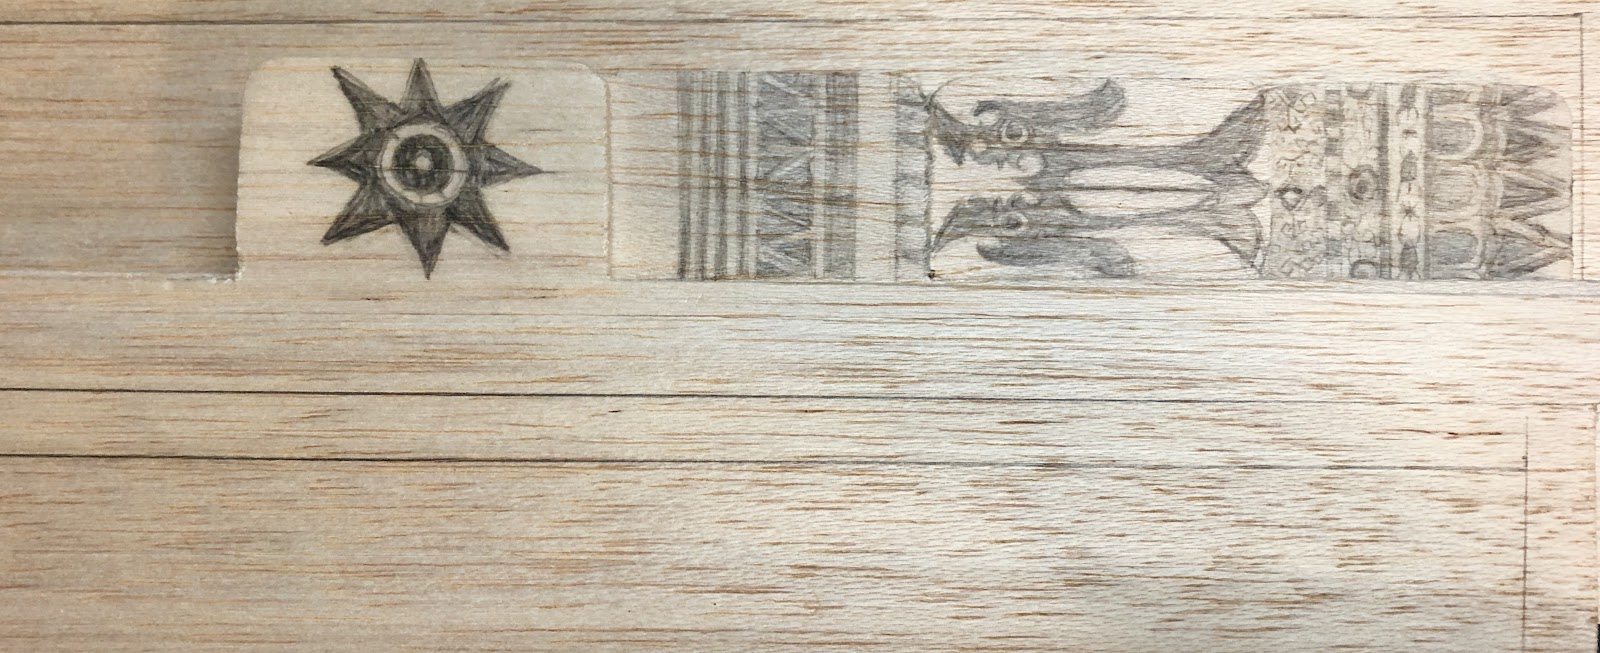
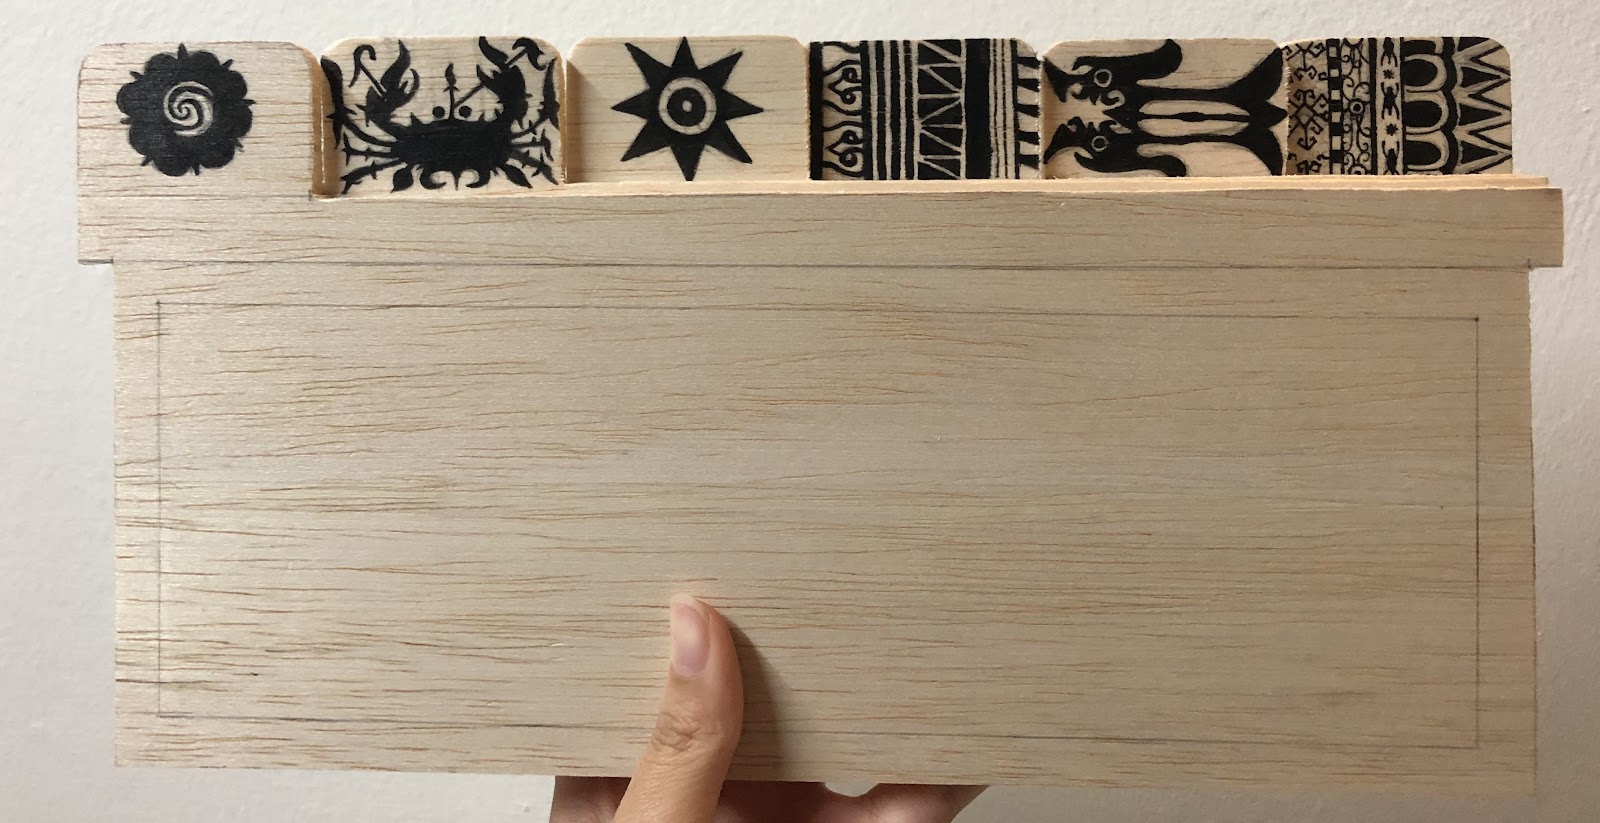
Fig 3.7 Tattoo drawing & painting on the tabs


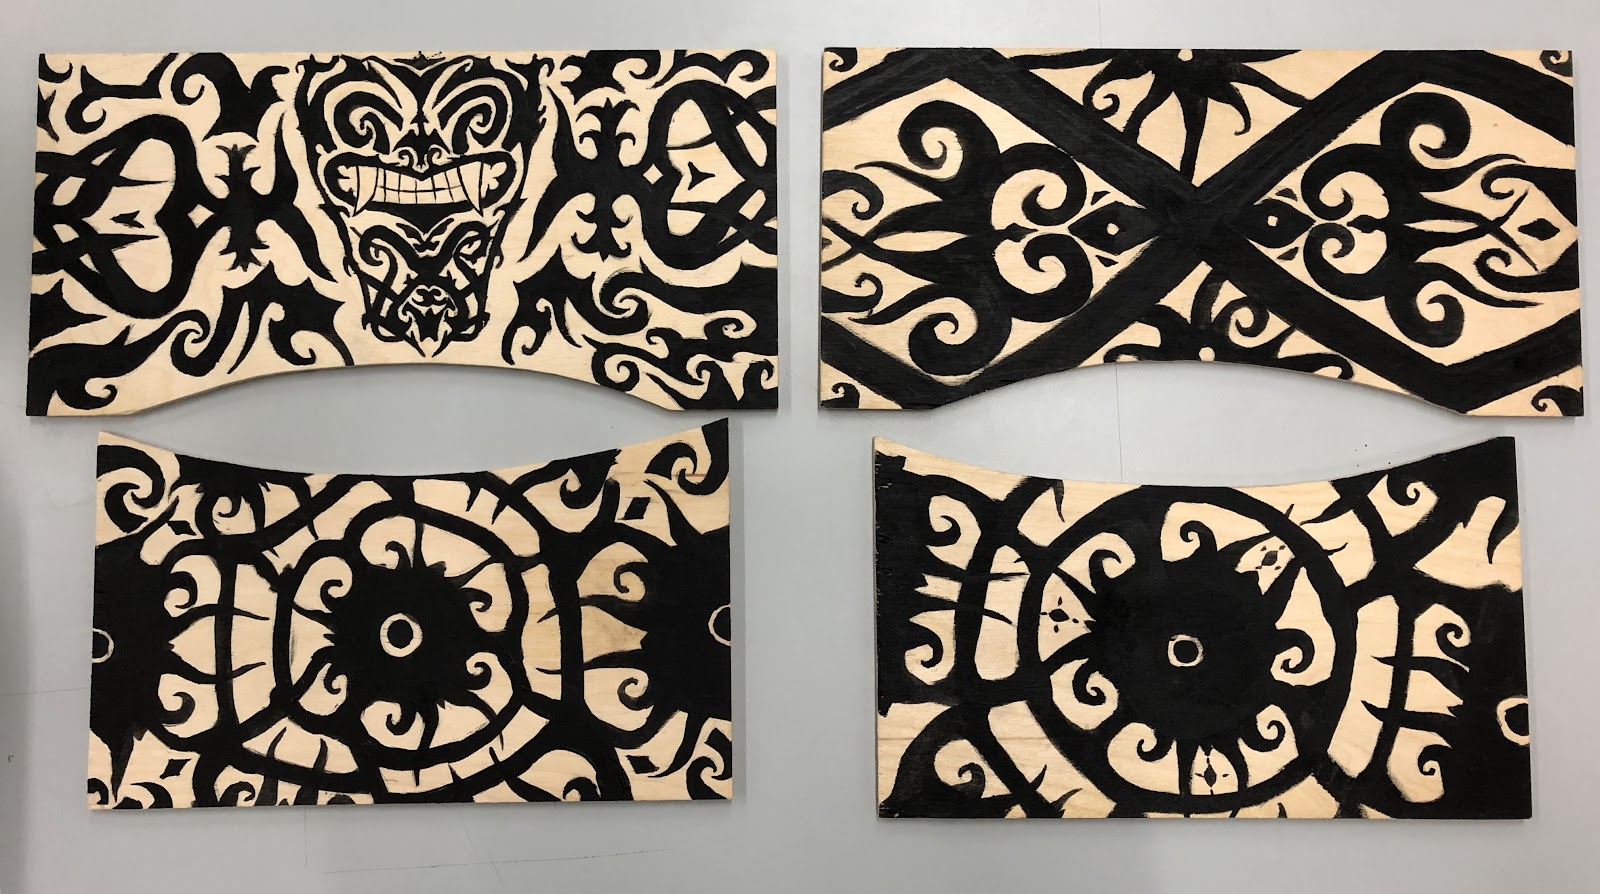
We also painted to the patterns and motif outside of the box to give an authentic feel to it. We used the reference of the motifs and patterns we took photos as our data collection from our Kuching trip.
Fig 3.8 Drawing & Painting the motifs & patterns
20/2/19-21/2/19 (Week 7)
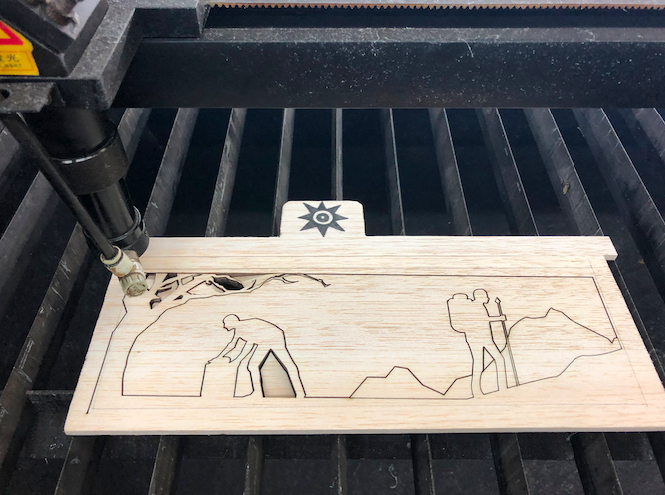
We continued with laser cutting the tattoo story illustration.

We also glued the wood pieces together to make the outer box after the wood is being varnished.

We continued with laser cutting the tattoo story illustration.
Fig 3.9 Laser cutting the story illustration
We also glued the wood pieces together to make the outer box after the wood is being varnished.
Fig 3.10 Varnishing the wood

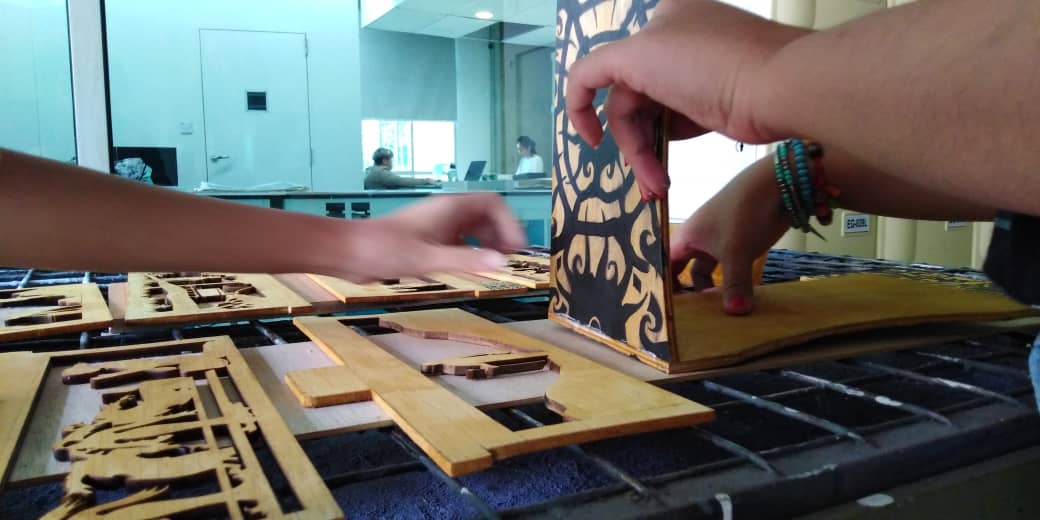

Fig 3.11 Gluing the wood together into a box
22/2/19 (Week 7)
And here is photos of our final artefact!
Box Design
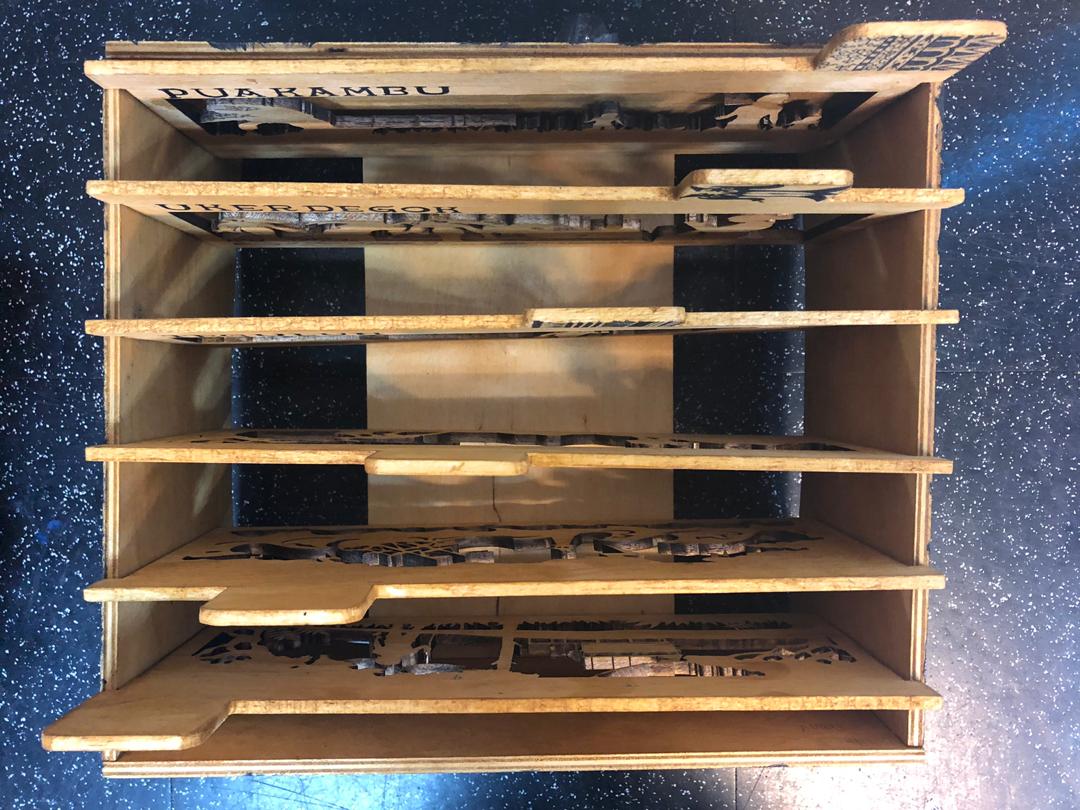


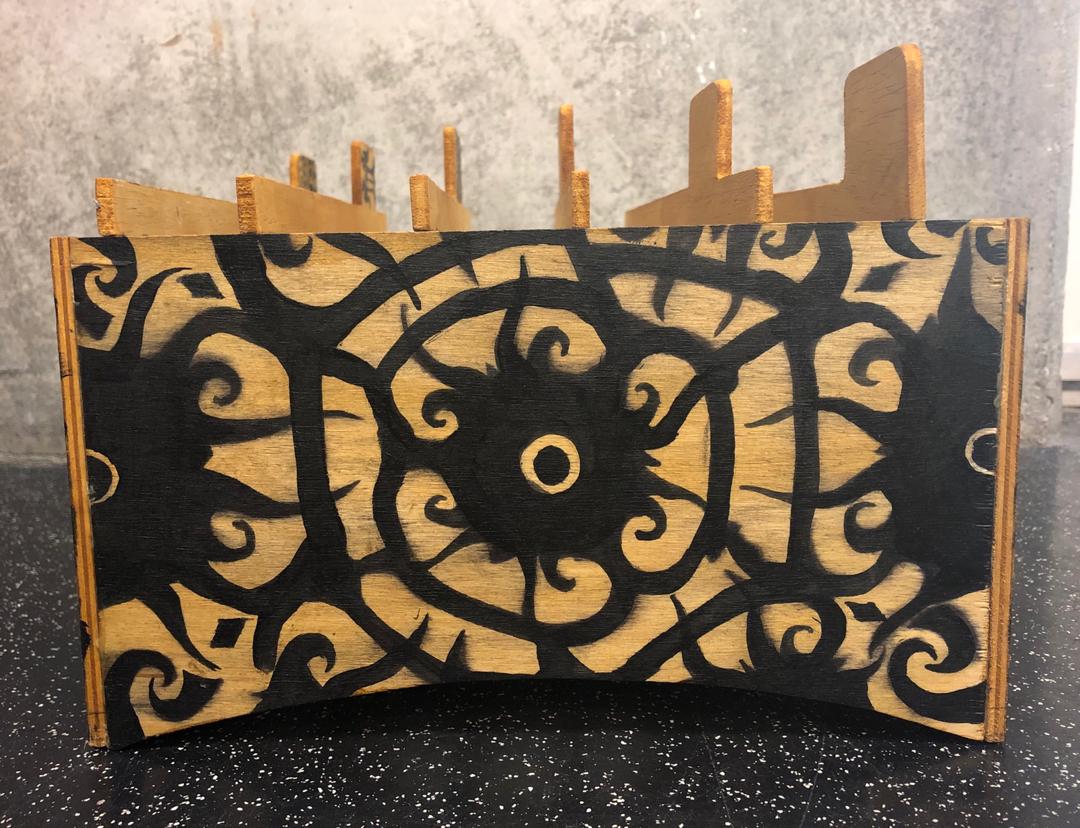

Fig 3.12 Pictures of the box
Story illustration & Tattoo tabs frames

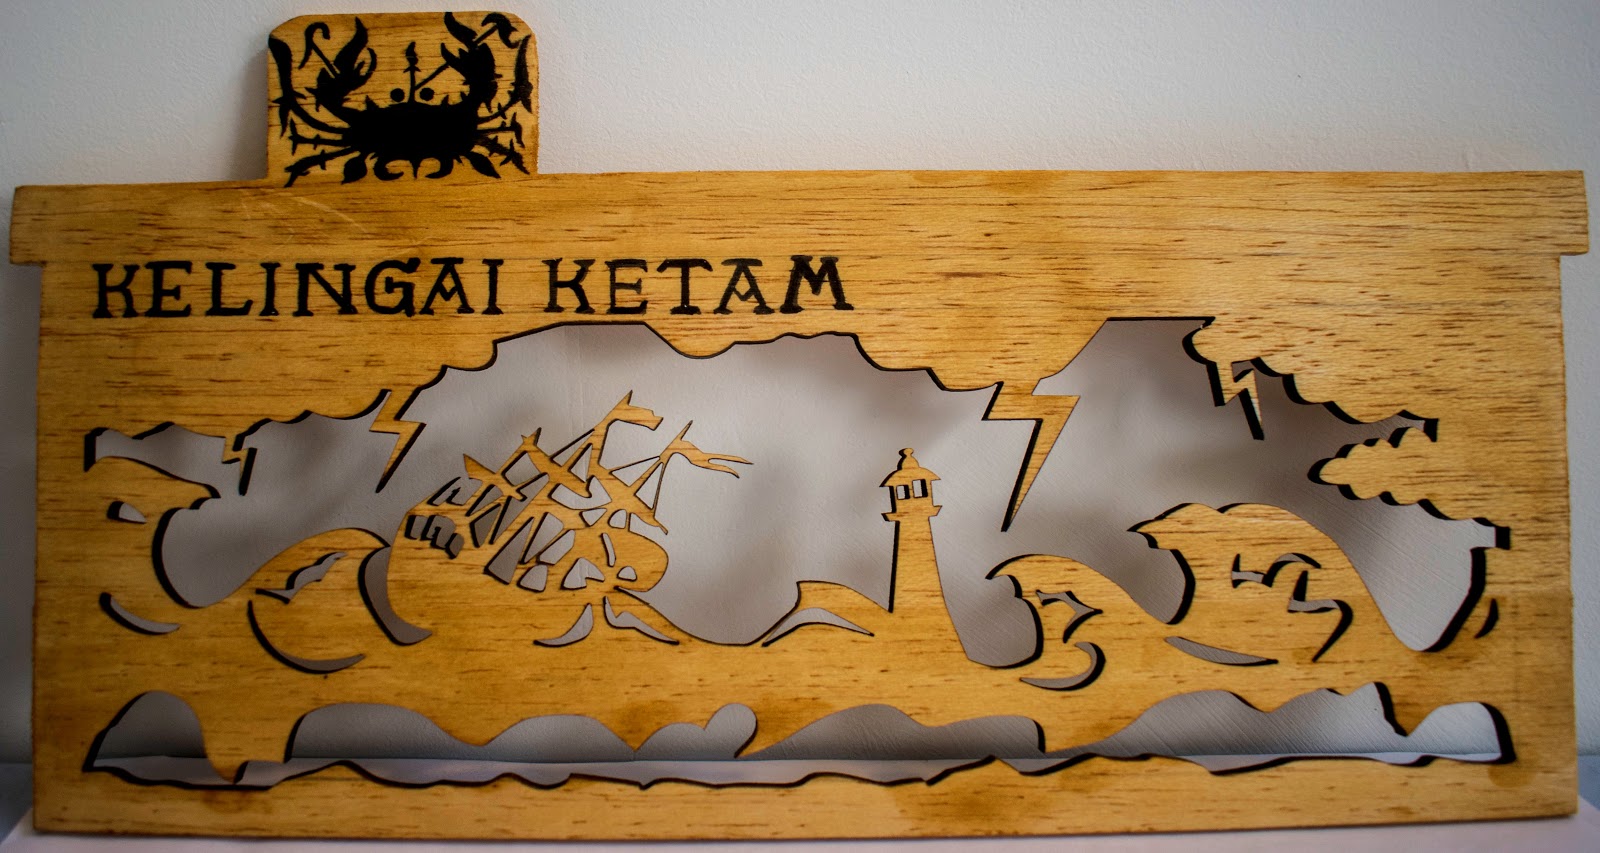


Fig Story Illustration (Single Shot)


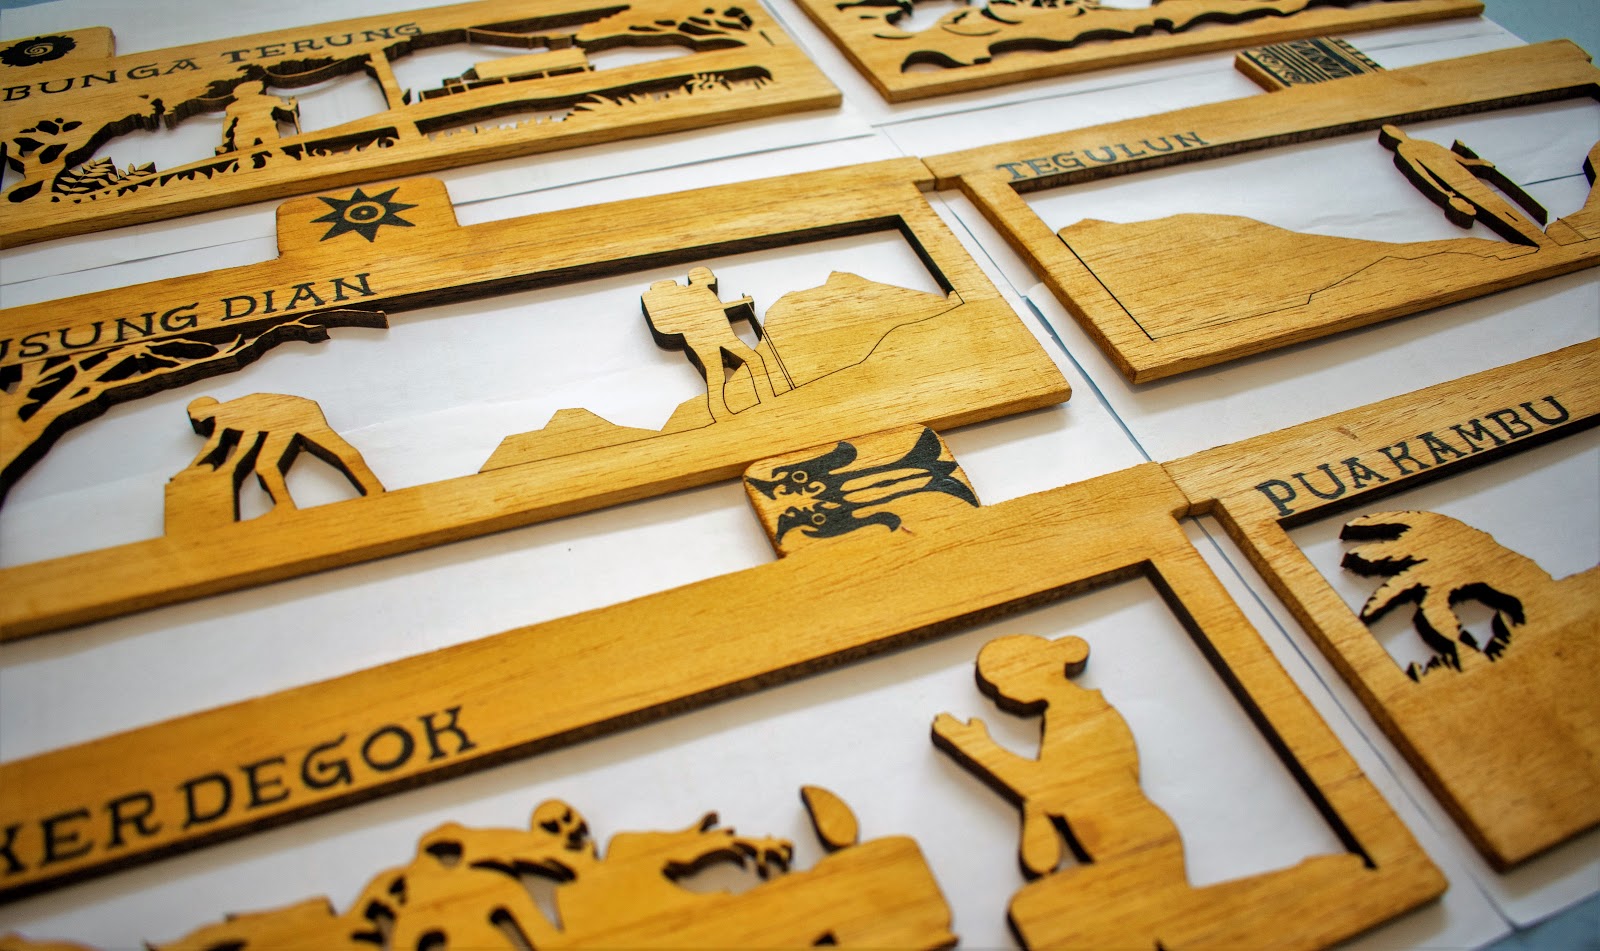

Fig Story illustration (in different angles)
Here is the final compilation of project 1, 2 and the final one:
Throughout this module, I learned about the Sarawak culture and how do they preserve them in their country. Most importantly, I learned to cooperate with my groupmates to carry out this project and make an artefact based on what we found during our Kuching, Sarawak trip. I also reflect on how I should manage my time well for this project as we rushed a little for the final outcome.

Comments
Post a Comment